


Factors to consider when sanding polyester putty
For efficient putty sanding, follow these recommendations:
Always comply with the putty’s drying times
Before starting to sand the putty, it is advisable to allow it to dry completely. Insufficient drying time may cause problems during the sanding process, such as clogging or detachment of putty.
The product’s technical data sheet states the drying time and the appropriate room temperature that must be complied with. Generally, these drying times will be around 20-30 minutes, at a temperature close to 20°C.
Do not apply putty over shop primers or acid or phosphate primers
Polyester putties should never be applied over shop primers, or acid primers or phosphate primers, as they are incompatible with this type of product.

Correct choice of sandpaper grit and orbit size
Choose a type of sandpaper grit and an orbit size depending on the surface and damage to be repaired. Also bear in mind the influence of leaps between grits in sanding, considering that a leap of more than 3 numbers is not recommended.
With light or low-density putties, because of their composition, you can use abrasive refining papers even in more serious damages.
The key to reduce the sanding time is not to use a large amount of abrasive paper, but to adapt its use according to the type of repair.
Always dry sanding
We recommend to always use sandpaper on dry product, never wetting the surface to be sanded.
Due to the porous nature of the putty, it tends to absorb moisture, which is retained inside. As a result, this can cause the rusting of the vehicle’s bodywork in the long term, due to retained water particles, and the appearance of paint defects related to humidity problems such as blisters and bubbles.
Periodic check of the levelling of the tools
We recommend that you periodically use both hand and sanding guides to verify that the sanding is carried out correctly and levelled.
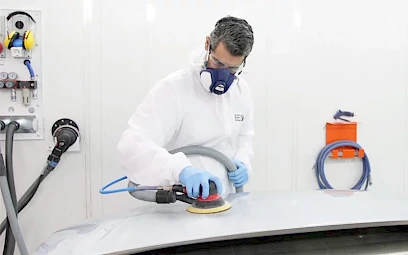
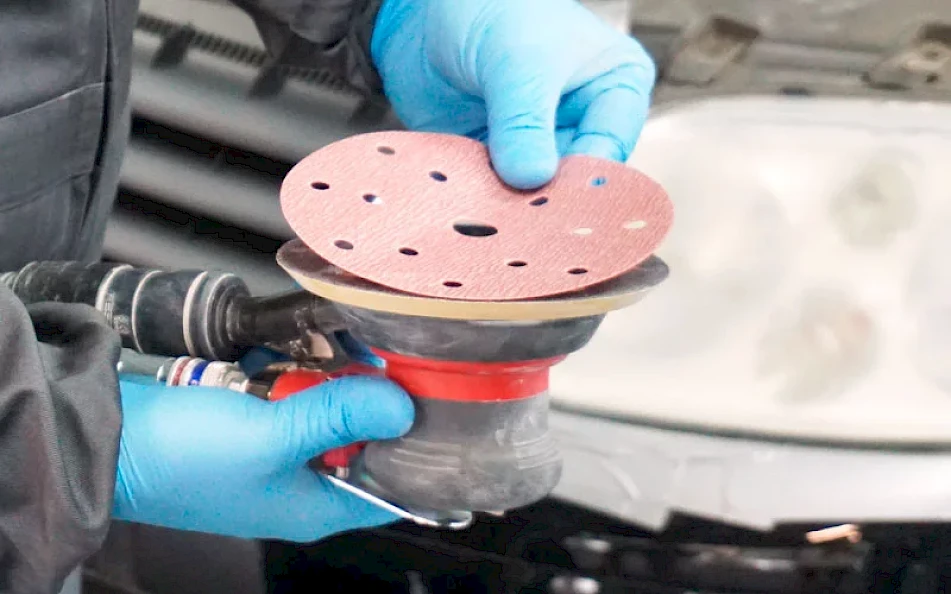
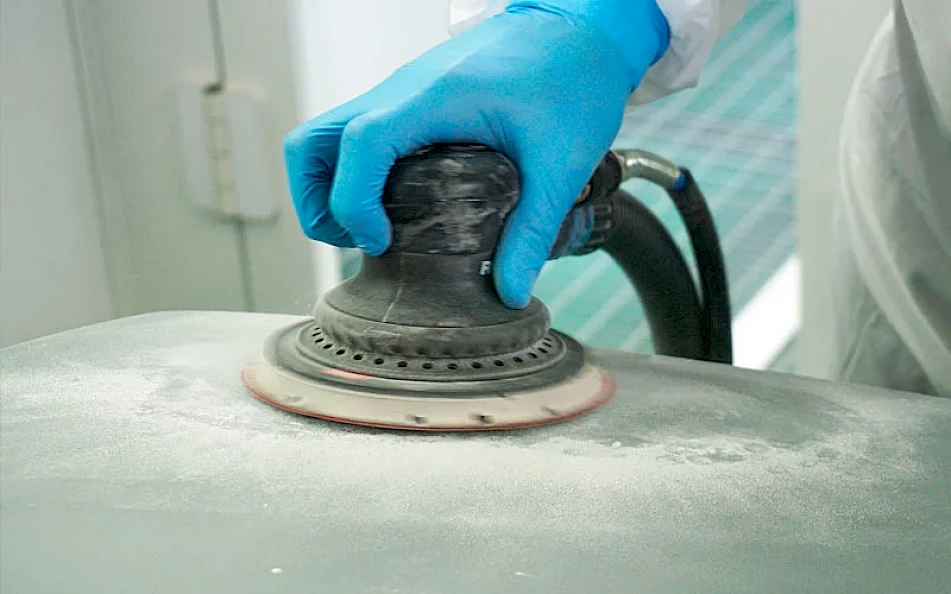
Tools to be used for efficient putty sanding
For a correct putty sanding, use rotary orbital sanders. In areas in which it is difficult to access, such as hollows, you can also use abrasive sponges.
The rotary orbital sander is used both to lower the initial micronage of the putty, and to refine the surface.
The most common type of orbit in a workshop is usually 3 and 5 mm. There are other types of orbits that provide greater roughness such as 7, 9- or 11 mm orbits, and others that are intended for greater refinement.
Factors to consider when sanding with a rotary orbital machine:
- The size of the orbit and hardness of the plate with a larger orbit size, the machine will draw a larger sanding movement, producing a more pronounced roughing of the filled surface, and also giving rise to more difficult to conceal sanding marks. In addition, the hardness of the sanding plate will influence this process, with surface wear being greater at higher plate hardness.
- Dust extraction system: ideally you should use a rotary orbital sander with good dust absorption capacity, to prevent premature clogging of abrasives or the appearance of marks (spirals). These also contribute to an easier cleaning and degreasing of the part.
- Sanding speed: higher sanding speed will produce greater friction, generating more heat, which will impact on the durability and performance of the abrasive paper. Depending on the type of putty and the repair to be carried out, the sanding speed will be adapted accordingly. The faster you go, the less accurate you are.
Thus, for efficient putty sanding thatallow saving time and product, use a rotary orbital sander whenever it’s possible.
As for hand sanding with an abrasive sponge, we recommend that this is only done on small patch levelling and cavities that cannot be reached with the sanding machine. Abrasive sponges, although they provide greater control over the surface to be sanded, force professionals to spend a greater amount of time and physical effort compared to rotary orbital sanders.
The fact that the paint and bodyshop has a variety and quality of equipment and tools, such as sanders with different sanding orbits or abrasive plates or papers, will be the basis for increasing productivity and efficiency in sanding processes.
Steps for efficient putty sanding
After following the recommendations stated in the former post on how to mix and correctly apply the polyester putty, let us now look at the steps to follow to obtain an efficient putty sanding:
1. Correct orbit selection
Depending on the size of the patch to be repaired, choose a type of orbit that allows greater efficiency in the repair:
- For large, thick putties patches, opt for larger orbits, which will allow a higher surface roughness: 7 – 9 mm orbit.
- Instead, for refining medium or light damage with less coat thickness, use smaller orbits, 3-5 mm.
2. Choosing the right sandpaper grit
- Serious damage or damage to what has been filled more than usual: P-80 grit sandpaper.
- Average damage: P-80 or P-120 grit sandpaper.
- Minor damage: P-120 or P-150 grit sandpaper.
As previously mentioned, with light or low-density putties you can use abrasive refining papers, even in more serious damages.
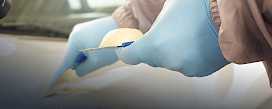
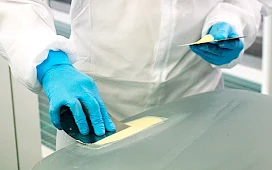
3. Patch sanding and integration
First, divide the patch according to the plans of the part, and then sand them separately.
Then remove spatula marks and putty’s burrs with a rougher grit (which may vary depending on the damage and the type of putty). Integrate the patch edges with the rest of the part, lowering the micronage of the putty.
Level the surface of the patch but without going too deep, as you risk of removing too much putty.
The pressure exercised should not be too hard, to prevent possible sanding marks that could lead to painting defects later and force you to repeat the repair.
4. Surface levelling and smoothing
Now you will level and mould the surface until you achieve the original shape of the part.
Surface levelling and smoothing will be done with a medium grit. You can use a sander or a sanding block. This will help prevent water and remove possible sanding marks.
As a recommendation, you can use a sanding guide to highlight deep scratches and surface imperfections to be removed with finer finishing abrasives.
5. Surface refinement
Finally, refine the surface with a finer sandpaper grit, to avoid the appearance of sanding marks in the finishing paints.