


Tips to optimise the application of the putty
Putties are a type of paint that are made up of 2 components (putty and hardener) which are used to fill, even and level a surface that will subsequently be painted. The process of applying the putty is called filling process.
Choosing the right putty and investing the time required for a correct application will allow optimising of the sanding process, which is one of the most time-consuming steps in bodyshop repairs. It will also help increase the quality of subsequent processes, such as priming or finishing paints.
Let us now look at the steps that will allow optimising the putty application process, while increasing the profitability of the repair.
1. Correct choice of putty according to the type of repair
It is essential that the bodywork putty used adheres well to the type of material to be applied, whether plastic or metal, and that it is compatible with the primer.
It should be noted that putties should never be applied over wash primers, or acid primers or phosphate primers, as they are incompatible with this type of product. As usual, the different compatibilities between the putty and the type of material to be treated will be stated in the data sheet.
2. Correct pre-surface preparation
Before starting with the filling, the painted damaged edges to be repaired should be levelled, sanding the surface with a grit sandpaper between P80 – P120 and 5mm orbit, depending on the repair.
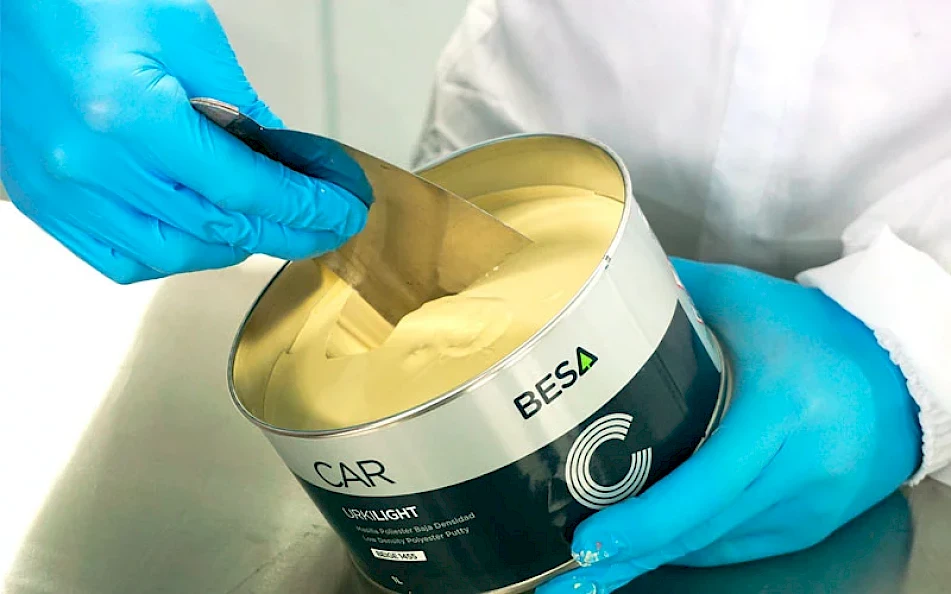
3. Correct preparation of the mix
First of all, check that the working tools have no traces of putty or hardener used in previous repairs, in order to make a smooth and regular application on the surface.
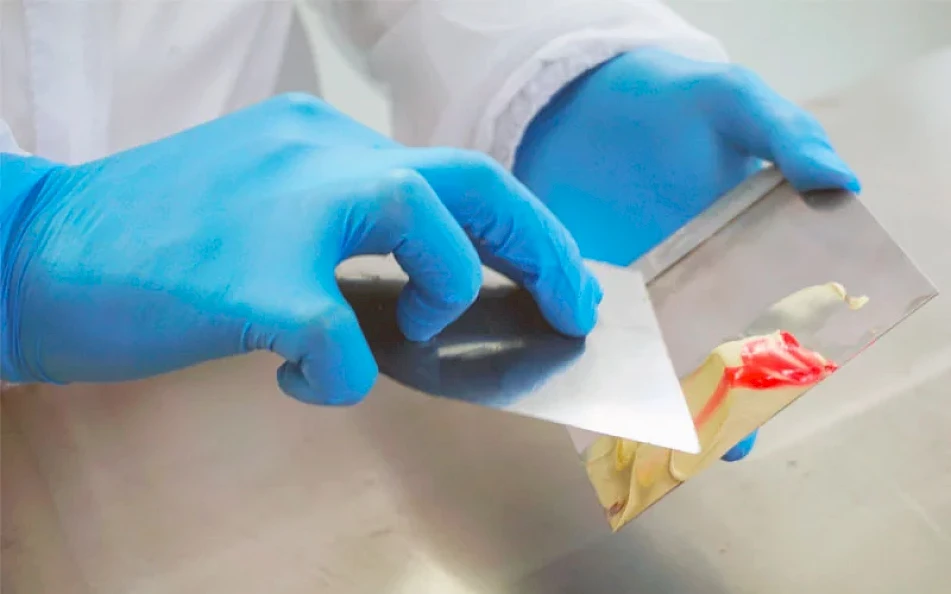
When you make the mixture, it must be even. Try to minimise air inlet by stirring the mixture, making sure that the colour obtained is uniform without colour streaks or differences.
As in many other cases, the mixing ratio of the two components will be stated in the data sheet, so as to optimise the performance of the putty. Generally, the proportion of the hardener to be added is around 2-3% on weight. It should be taken into account that an excess or shortage of hardener in the mixture, can cause different results:
- Excess of hardener in the mixture: it will cause the putty to harden faster, also leading to possible staining or bleedings in the paint.
- Shortage of hardener (less than that recommended): the putty may not dry and harden sufficiently, leading to problems during the sanding process, such as flaking or clogging.
It is also important to calculate the amount of putty to be mixed according to the room temperature. As it may seem logical, with more heat there will be less drying time and therefore less time for applying the mixture.
In general, workshops usually perform the mixing using a “rough estimate”. A lack of the right experience may lead to the problems described above. As a recommendation, to make sure you are getting the ideal mixing ratio by using the precision scale.
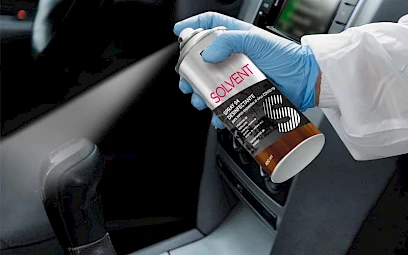
4. How to apply the polyester putty
In this step the concept “pot life” of the mixture, that is, the time you have between the moment you mix the putty with the hardener until the mixture hardens, becomes especially relevant. This time may also be influenced by both ambient and substrate temperature.
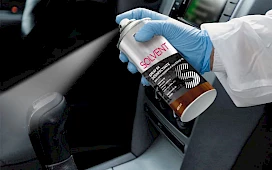
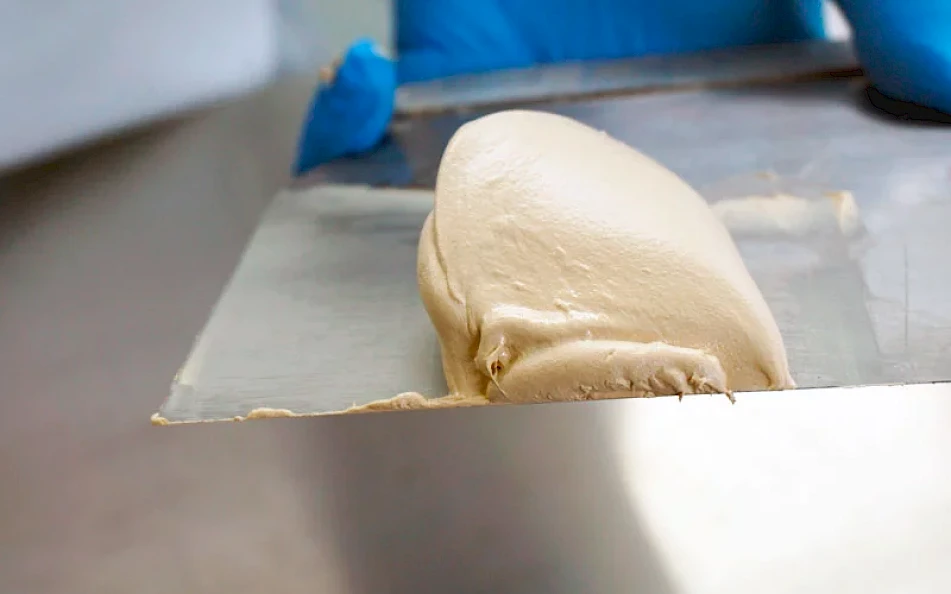
When applying the putty, it must be spread evenly, making even coats from one end to the other and exerting appropriate pressure on the spatula. This will enable removing air occluded during application, in order to obtain a smooth and regular surface.
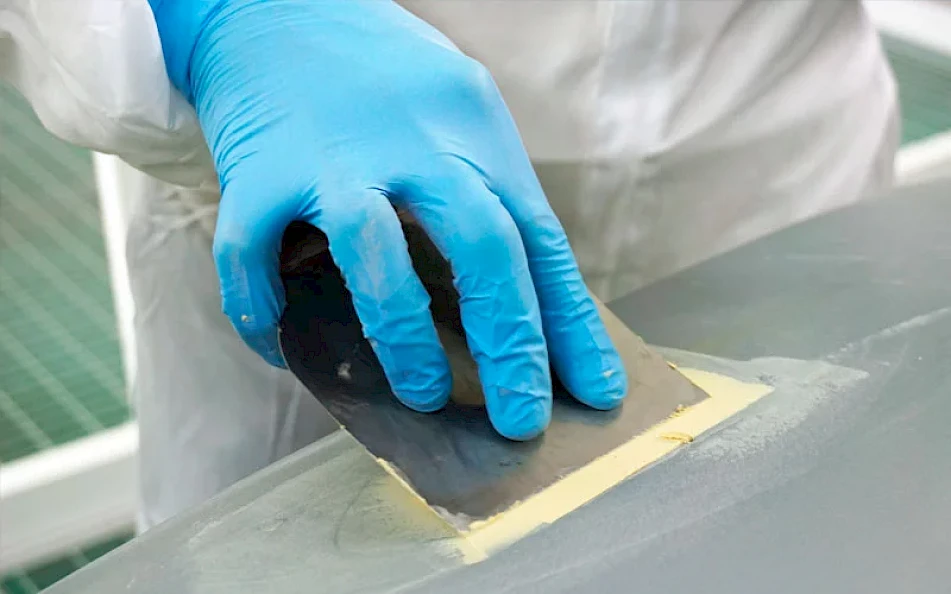
To better control the application of the putty and the speed at which it hardens, we recommend applying it in small amounts whenever possible. In curved areas, you can use rubber spatulas, as they are more flexible.
One of the most important aspects to consider is the amount of putty to be applied:
- Excessive product:you run the risk of having surface stiffness problems, making the sanding process more expensive, and therefore less profitable in terms of time and material used.
- Insufficient amount of putty: similarly, an insufficient amount of putty can also lead to adherence problems and to poor levelling of the surface to be sanded.

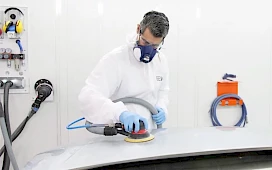
5. Always comply with the putty’s drying times
The putty’s drying time is stated in the technical data sheet and will start right at the moment the mixing takes place, leading to the chemical reaction and subsequent hardening.
Depending on ambient temperature, this drying process will be faster at high temperatures, and slower at low temperatures. In addition, the support’s (metal or plastic) temperature can also influence the drying time.
Generally, the drying time of the putty is between 20 and 30 minutes (5 minutes with short wave infrared) at a temperature close to 20ºC (it can vary depending on the type of putty).
Also, the drying time of the putty will influence its subsequent sanding:
- Excessive drying time: will cause it to harden further, making sanding difficult and increasing the time required.
- Insufficient drying time: if the putty has not dried completely, it could lead to clogging problems during sanding.
In conclusion, it should be noted that if the surface is not in optimum condition for sanding after application, you can re-apply putty in the more irregular areas.