What are dimples?
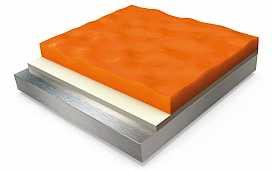
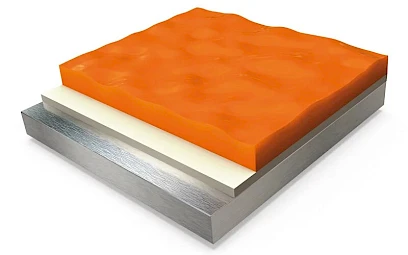
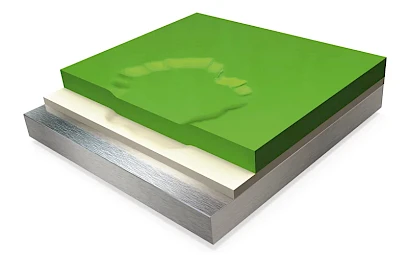
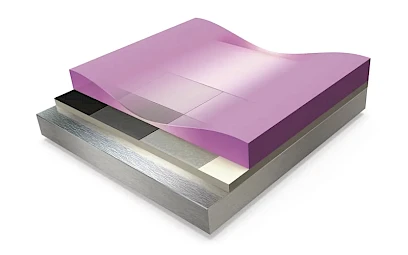
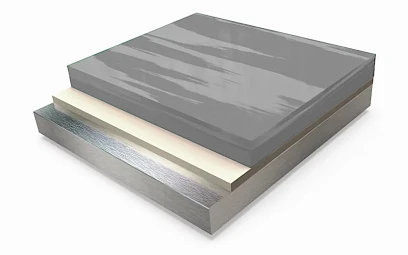
Dimples, also known as patch stains or sagging, are defects that appear once the final paint coat has dried and are limited within an area that has been enclosed to be repaired, usually with polyester filler.
Causes for the appearance of dimples or patch marks in paint
The reasons for this painting defect have to do with several factors, including:

1. Incorrect preparation and application of the polyester filler
Incorrect preparation and application of polyester filler can result in absorption of paint from the filler or finish coats. To avoid this problem, we recommend that you always follow the instructions stated in the technical data sheet regarding mixture preparation and drying time.
2. Lack of isolation of the repaired area
In many cases dimples are caused by the lack of a priming coat or incorrect priming preparation.
In addition, applying the finish coat before the primer has dried completely will encourage the possible appearance of dimples. The priming paint must be prepared and applied according to the indications given in the technical sheet, respecting at all times its thickness, evaporation time and drying.
3. Lack of preparation of patch edges
Patch edges or the area to be repaired must be properly prepared and isolated.
How to deal with dimples
The first thing you should do is let the paint harden completely, applying external heat (Infrared) if necessary. Then you should inspect the area and assess the extent of the defect, carefully examining the dimples produced. If the defect is superficial:
- Sand the area containing dimples with a sander and a P1500 abrasive disc to start with, increasing the grit as needed. Then refine the surface with P3000 sandpaper, removing any previously generated sanding marks.
- Once you have removed the defect, polish the surface of the part with an abrasive polish, and then apply another brightening polish.
If the defect is more serious, you will have to carry out the repainting process from the beginning:
- Sand the affected area with an abrasive paper adapted to the type of repair, until the surface is free of defect.
- Make sure that the base is properly insulated to avoid the problems described above.
- Finally, apply the finishing paint.


