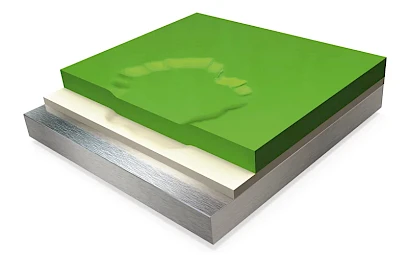
What is the orange peel effect in paint?
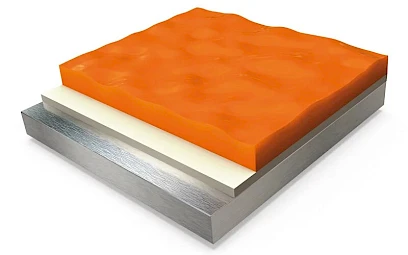
The name orange peel is given by the resemblance of the final paint finish to an orange peel. This problem is caused by the lack of stretching or levelling of the paint, resulting in a deformed surface and in an increased thickness of the final coat.
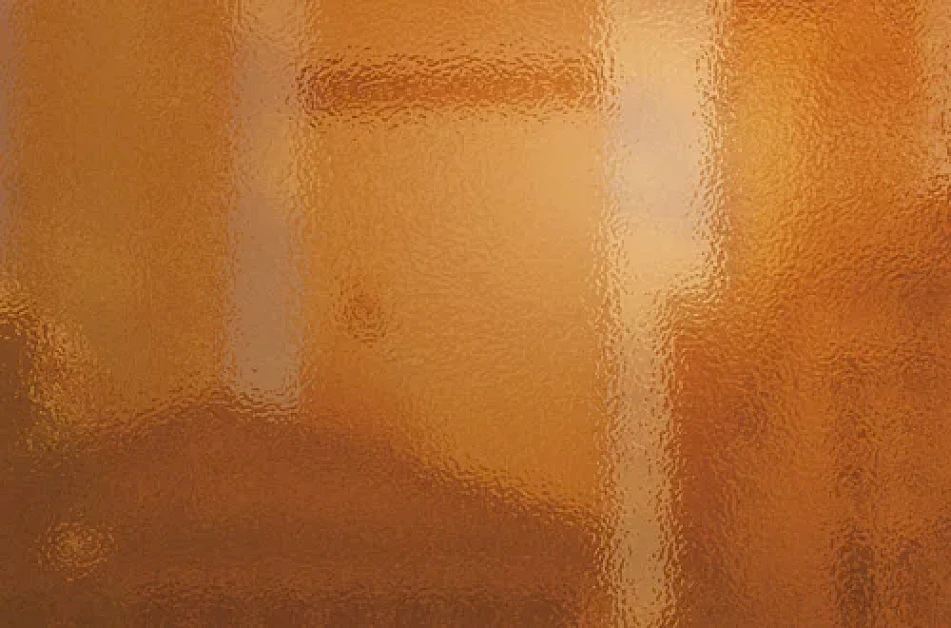
Causes of orange peel appearance in car paint
The reasons why this defect may appear have to do with several factors:
1. Incorrect adjustment of the application equipment.
Correctly regulate the application equipment’s pressure, product flow and fan pattern based on the specifications in the technical sheet, in order to obtain a regular and even spray. Too low application pressure will cause a deficient spraying of the product.
2. High application viscosity
Another cause may be a paint mix with excessive viscosity, which will lead to a high viscosity and irregular finish.
To solve this, you can increase the percentage of thinner in mixture.
3. Failure to adjust the hardener and thinner to room temperature
Depending on the room temperature or environmental conditions, it will be convenient to adapt the choice of catalyst or solvent to be applied according to its drying speed.
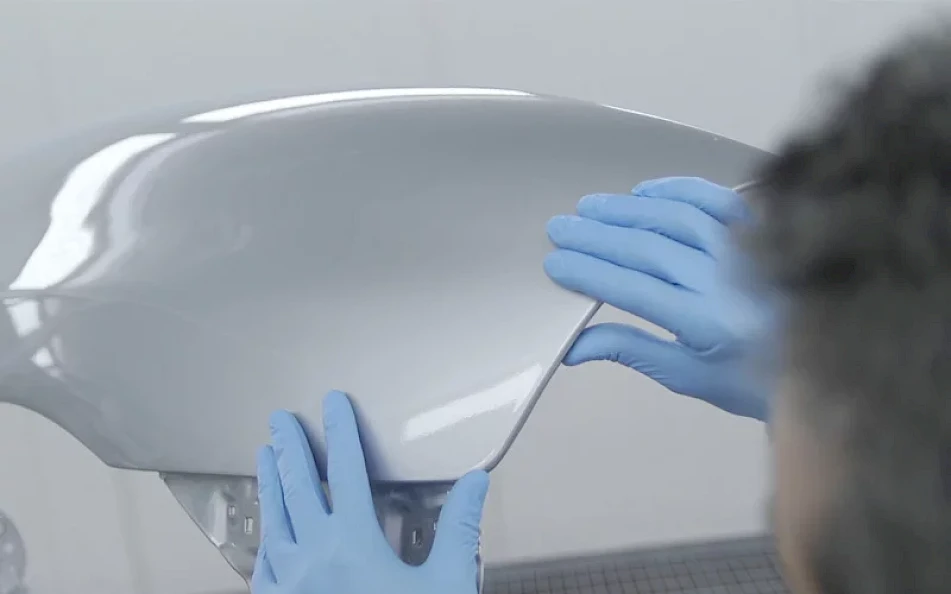
4. Previous coats insufficiently dry
Always comply with the drying time of the base coats specified in the technical data sheets of each product.
5. Excessive product load
Excessive product load per coat and too much distance between the spray gun and the workpiece will result in a less even coating, favouring the orange peel effect.
6. Incorrect preparation and sanding of the priming coats
Proper preparation and sanding of priming coats, always in compliance with the drying times for each process, will help you to obtain a uniform surface optimised for refinishing..
Process to solve the orange peel effect in paint
If the orange peel defect is only present on the surface of the part, you should proceed as follows:
1. Sanding of the surface with P1500
First sand the defective area with sanding paper P1500, the area having been previously limited with masking tape, in order not to invade undamaged bordering areas.
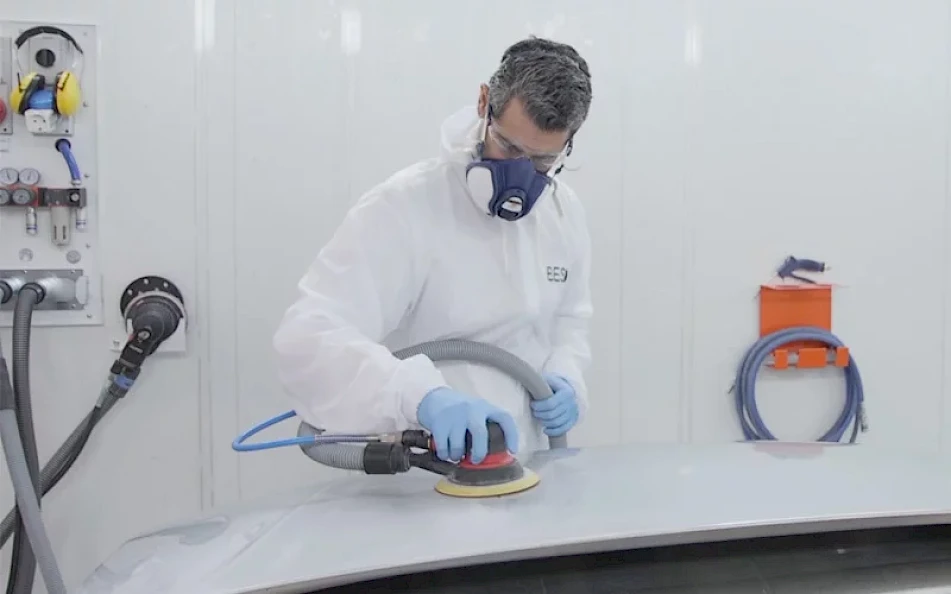
2. Surface refinement with P3000 sanding paper
Then use a P3000 grit to refine the surface and remove possible sanding marks.
3. Cleaning and degreasing of the surface
Once the surface has been sanded, clean the dust generated with a degreaser and a microfibre cloth.
4. Polishing and shining
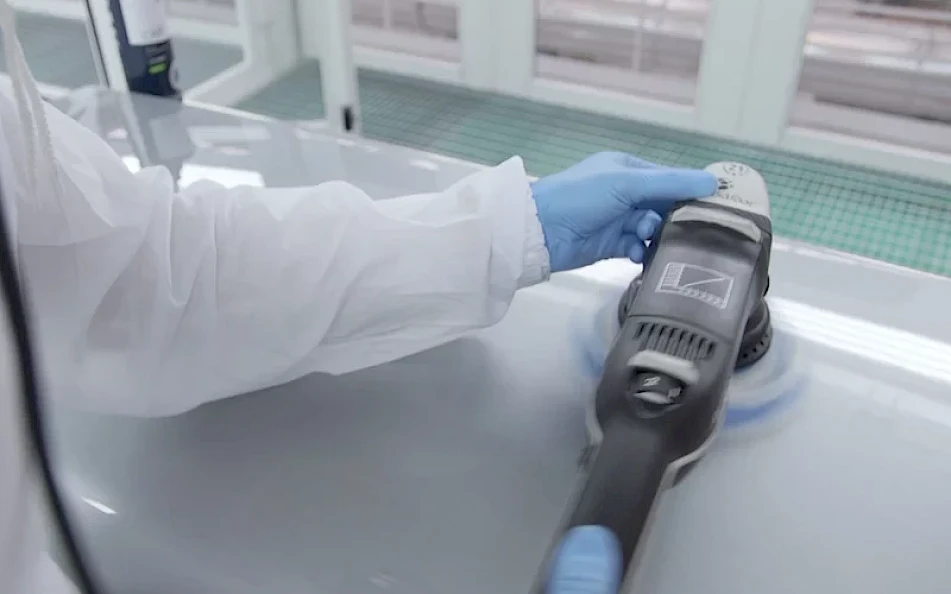
Subsequently, apply a quick cut polish with the polishing machine, ensuring homogeneous pressure and movement. Finally, clean the area with a cleaning cloth to assess the result obtained.
On the other hand, if the orange peel defect is still present in the finish paint if it is excessively thick, polishing will not suffice. You will need to prepare the surface to perform the painting process from scratch:
- First, sand the surface with an abrasive (emery) paper according to the defect to be repaired. Use a degreaser to remove any dust residues generated.
- Then, apply the priming coat, and sand.
- Finally, apply the finishing coat, following the above recommendations at all times to prevent the appearance of this defect.


