What is poor paint coverage?
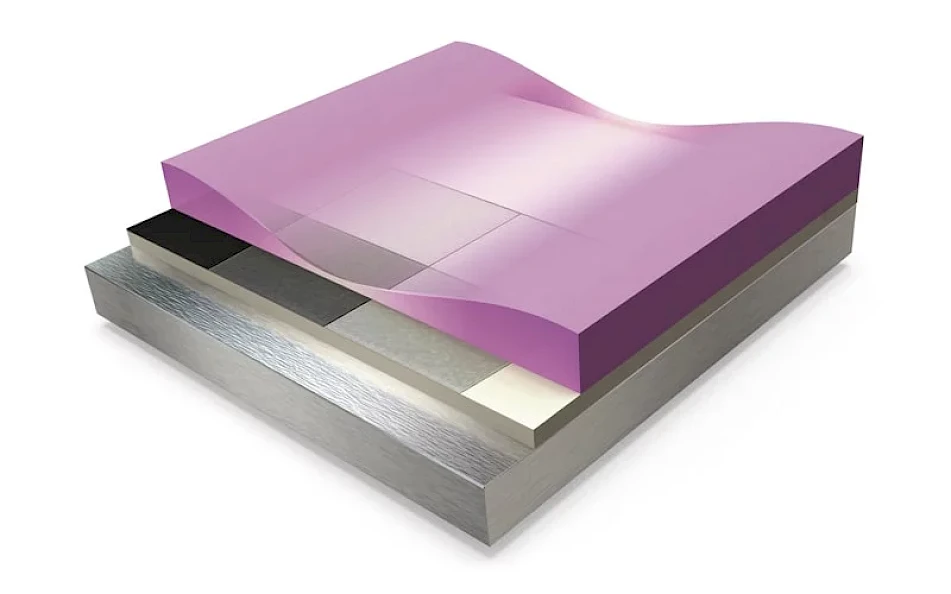
Poor paint coverage causes the paint substrate or undercoat to become transparent, thus altering the final colour of the repaired part with respect to its adjacent parts.
In most cases, having a painting system with a high coverage and excellent colorimetrywill be your best ally to prevent this application defect.

Sin embargo, pueden existir también otras causas que provocan una baja opacidad de la pintura de acabado. Como profesionales, debemos conocer todas estas causas y su posible solución.
However, there may also be other causes that lead to low opacity of the finish paint. As professionals, you must know all these causes and their possible solution.
Let us now look at what causes a poor paint coverage in car paint, and its possible solution
Causes and solutions for poor paint coverage
The reasons why this paint defect may appear have to do with several factors:
1. Poor coat thickness
A low micronage of the coating during the finish process may result in poor paint coverage.
To avoid this, apply the paint micronage established by the manufacturer in its technical data sheet to achieve a correct opacity of the finish coat.
2. Uneven intermediate coat colour
An uneven and non-uniform application of the intermediate coat colour, usually of the filler paint, can lead to differences in opacity of the finish paint.
In addition, an incorrect preparation of intermediate coats can also influence the appearance of this defect.
3. Correct choice of filler shade with respect to the finish paint
Use a filler paint shade that matches the colour of the finish paint coat, especially in low opacity colours.
Generally, as is the case with BESA, it will be the colour management software that will indicate the filler colour that best suits the chosen finish colour, thus optimising colour matching in the repair.
4. Excessive dilution of the mixture
An excessively diluted mixture, or in other words, a poor application viscosity can influence the coverage power of the paint and its correct opacity.
To prevent this, always follow the amount and type of thinner that is specified by each manufacturer in their technical data sheet, to optimise the dilution according to the type of application and context (temperature, humidity, size of the part, etc.).
Para evitarlo, debemos respetar en todo momento la cantidad y el tipo de diluyente especificado por cada fabricante en su ficha técnica, con el fin de optimizar la dilución en función del tipo y contexto de aplicación (temperatura, humedad, tamaño de la pieza, etc).
5. Use of paints with low opacity pigments
The use of poor coverage paints, made with low opacity pigments, will increase the possibilities of achieving a poor coverage of the finish paint. This is why, you should use a painting system of proven quality such as URKIMIX PRO, a product designed to optimise coverage and colorimetry in the workshop.
How to solve poor paint coverage
Once the paint has dried, inspect the repaired part to assess the actual extent of the defect. To do that:
1. Light contrast check
It may be advisable to perform a contrast check by turning off the booth lights and inspecting the surface with a daylight lamp.
This method will allow to better assess the opacity level of the finish coat and its matching with respect to adjacent parts.
2. Opacity test
A recommended practice would be to perform a colour opacity testbeforehand. Prepare different paint test cards (or contrast cards) and apply the colour mixture on them. Then, compare them with the surface to know for sure the correct level of coverage, thus ensuring an optimal colour adjustment without the need to repeat the repair again.
3. Apply colour until the correct match is achieved
If a colour mismatch resulting from a poor coverage of the finish paint is detected, apply colour until you achieve a correct coverage and matching.
If you have applied the final clear coat…
If the final clear coat has already been applied, you will have no choice but to tint the entire repaired surface, and finally apply the finish paint again.


